( I WILL BE ADDING TO THE ‘MAKING BOOKS’ SECTION OF MY WEBSITE AS I MAKE THE BOOKS. )
Making a flag book with pockets.

A flag book is a type of concertina book form. Once the concertina is made, pockets are attached to the sections. In my version, ‘Sycamore Samaras’ I made envelopes to contain the prints that are then inserted into the pockets. In ‘Into the Distance’ . I placed the photographs directly into the pockets.

I would recommend working with scrap paper to make a model concertina, pockets and prints so you can chop them up, make multiple folds and make gluey mistakes. Write down the dimensions as you go. That way it’s easy to make slight alterations to the dimensions without having to remeasure each time.

My paper measures 130mm high (the height of my pockets) x 500mm long (the length I worked out using scarp paper that I would need for the number of pockets to be attached). I used 120gsm black paper, though you could use 100gsm. Don’t use too thick a paper as the concertina will be too springy
Carefully fold the paper in half. (the card illustrated isn’t 500mm long!)

Smooth the fold down with a bone folder.

From the folded edge, mark 30mm in. Make 2 or 3 marks at intervals 30mm in from the folded edge. I very gently use an awl to leave a small pin prick mark. You can use pencil but you’ll probably have to rub the mark out if it’s noticeable.
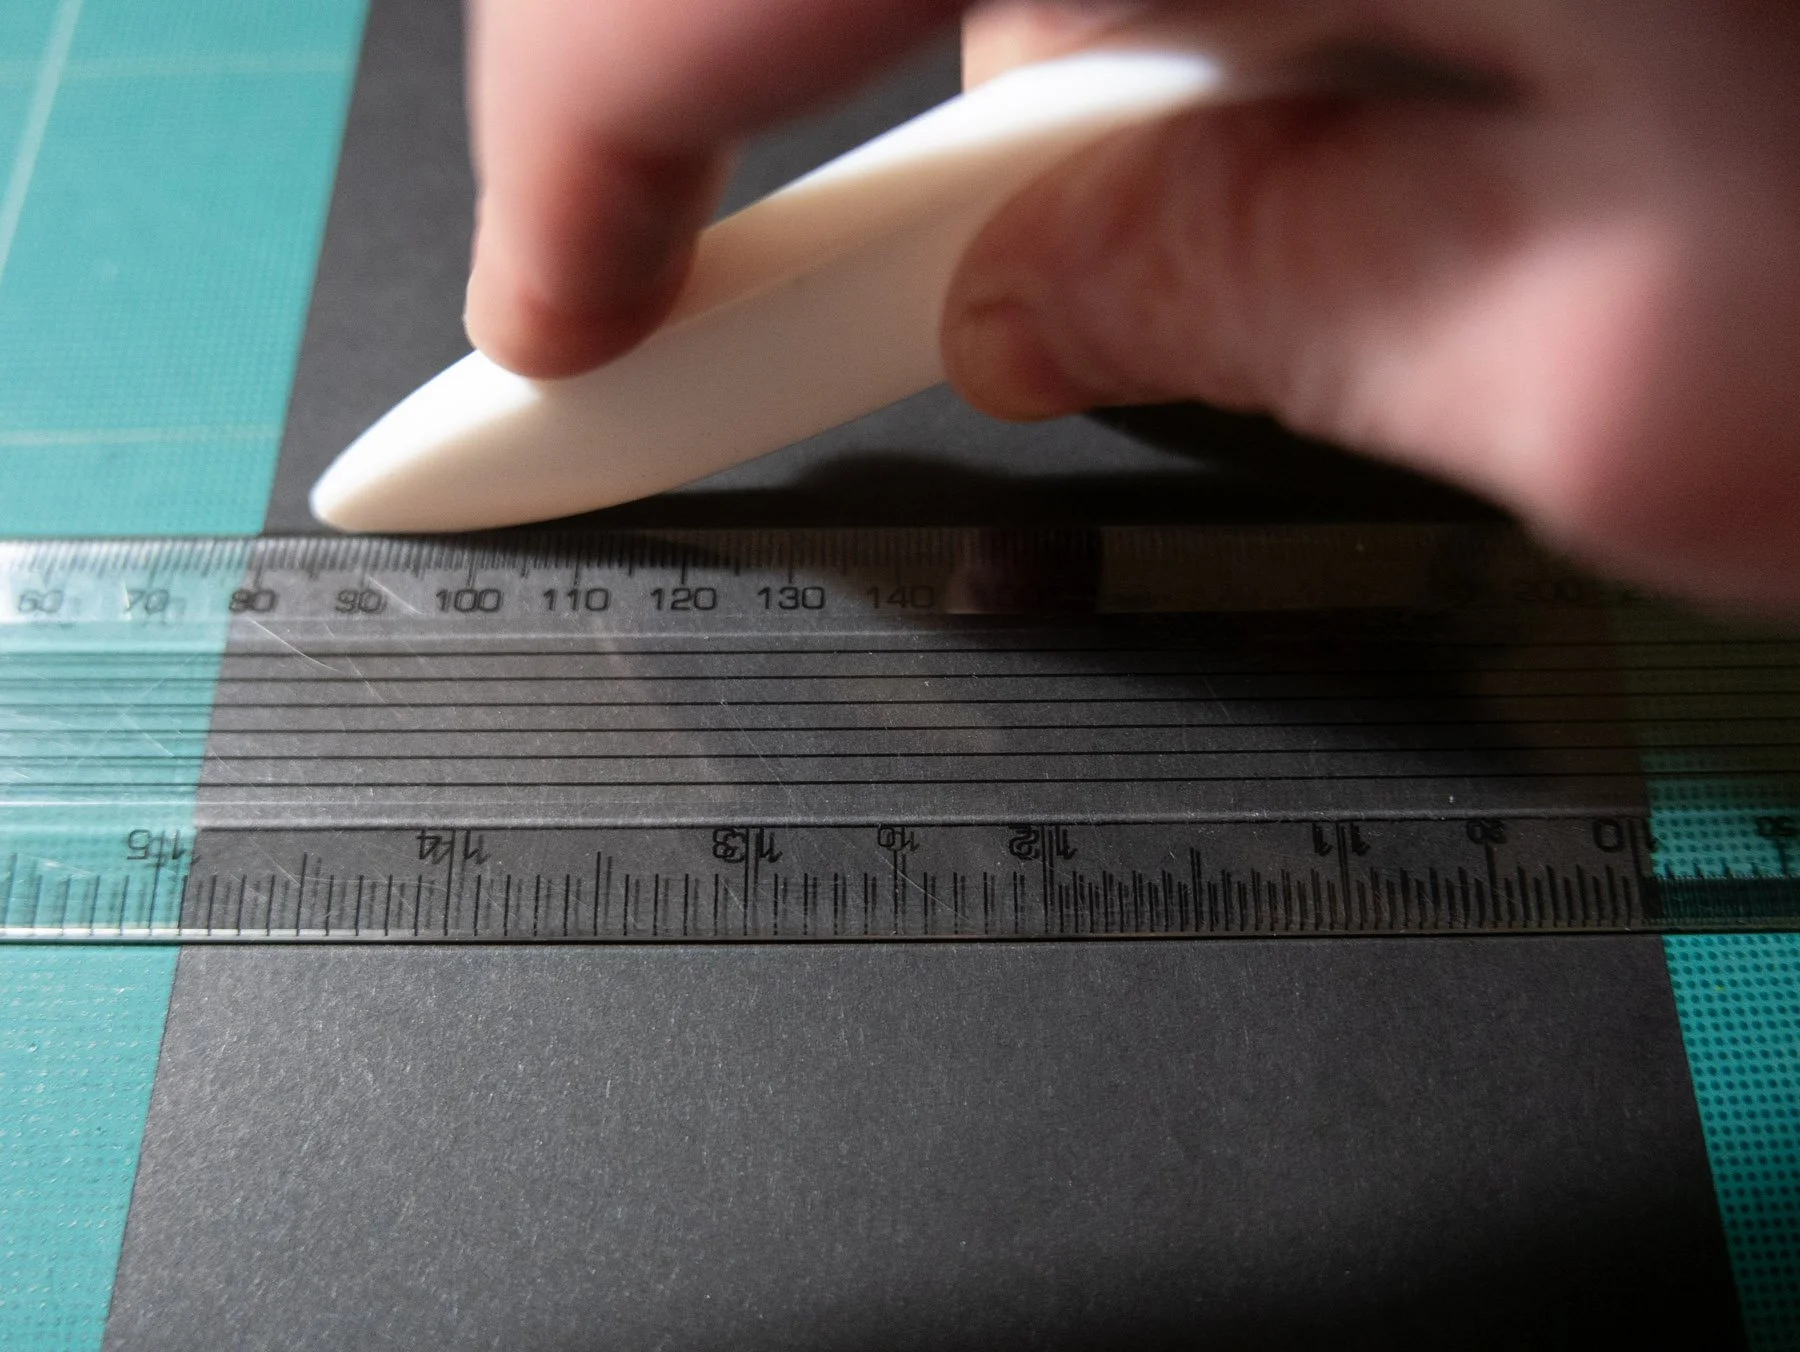
Place a ruler along the marks you’ve just made, and score with a bone folder. Keep the ruler in place and fold the paper towards you.
Smooth the fold down with the bone folder.
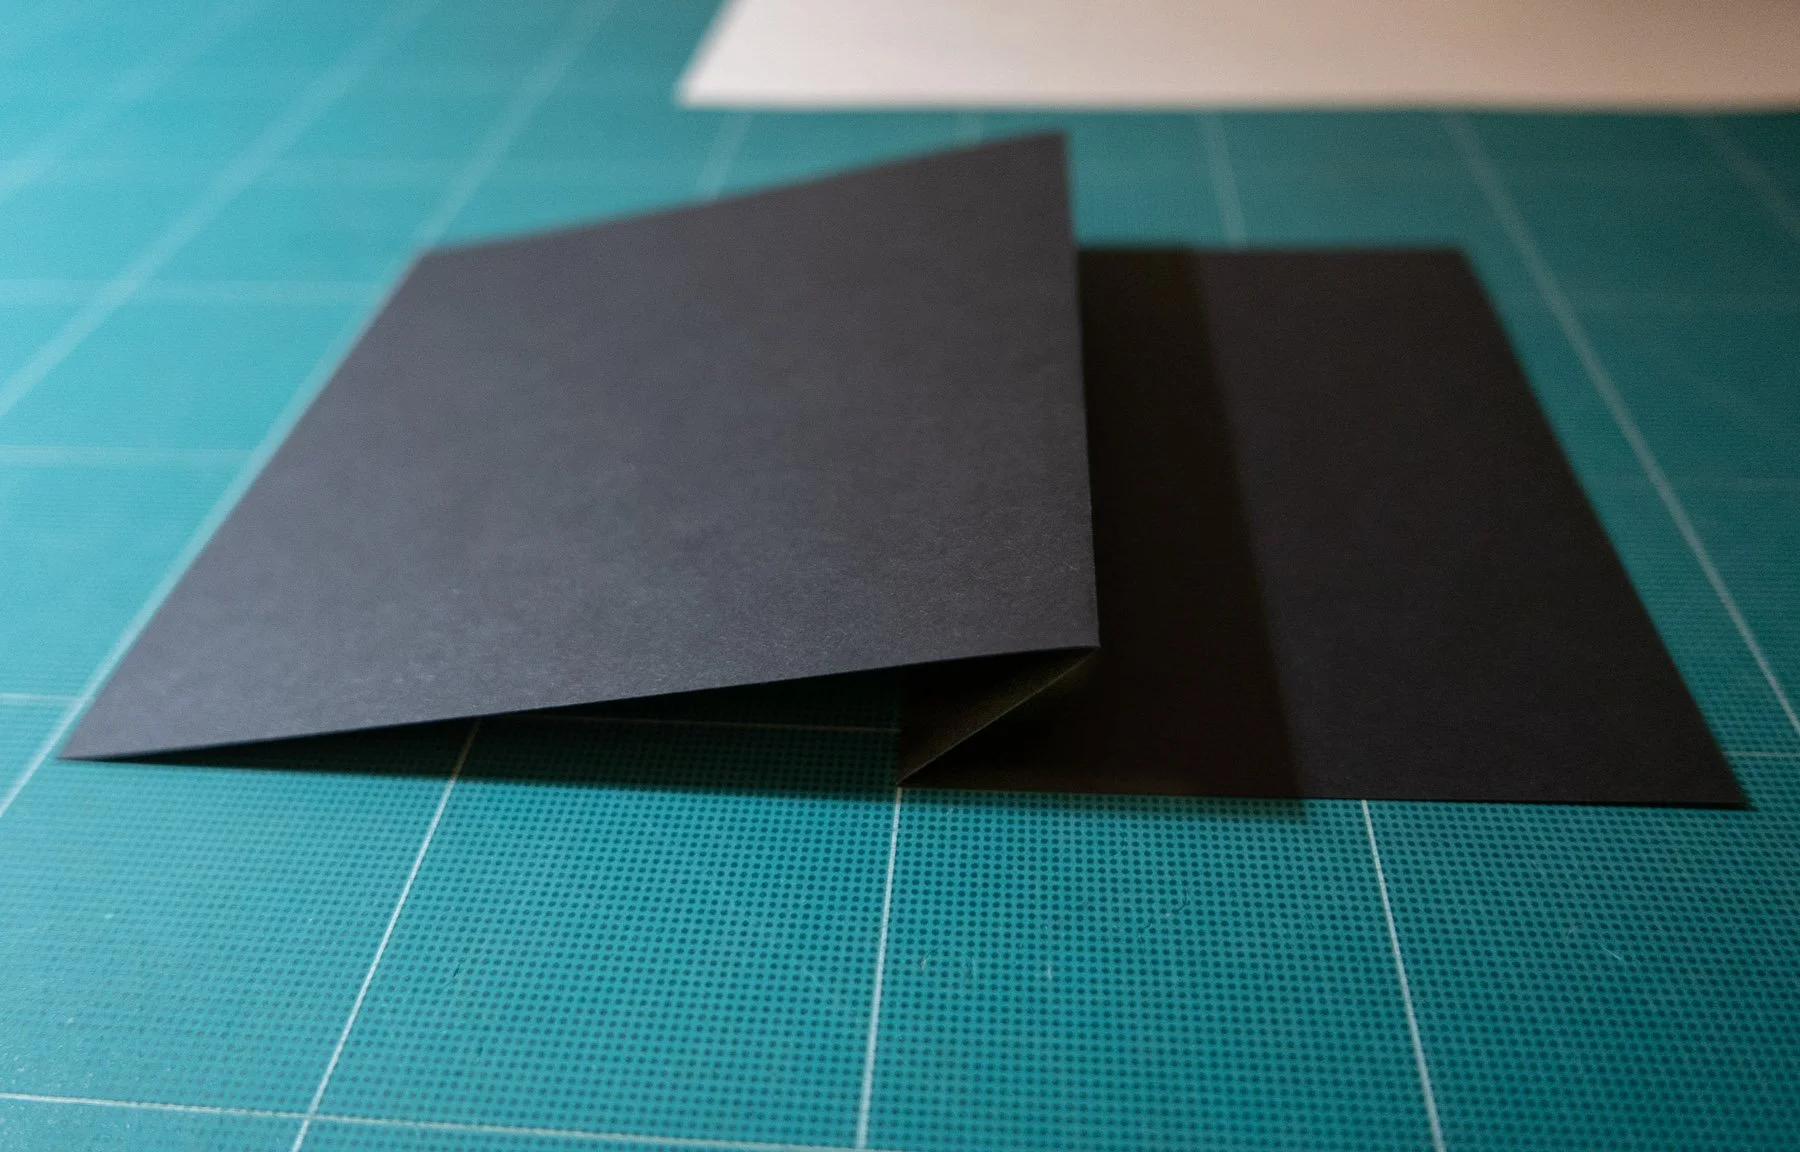
Turn the concertina over and it will look like this. The fold on top is the paper folded in half. The fold underneath is the fold you’ve just made.
Place the ruler on the folded edge and mark 30mm in with the awl as you’ve previously done. Score with the bone folder. Keep the ruler in place and fold the paper towards you. Smooth the fold down with the bone folder.
Turn the concertina over.
Continue as above, and the concertina will take shape.

The final concertina will look like this. It’s important that left and right ends of the concertina face towards you, not away, as these are the parts of the concertina that are glued to the book covers.
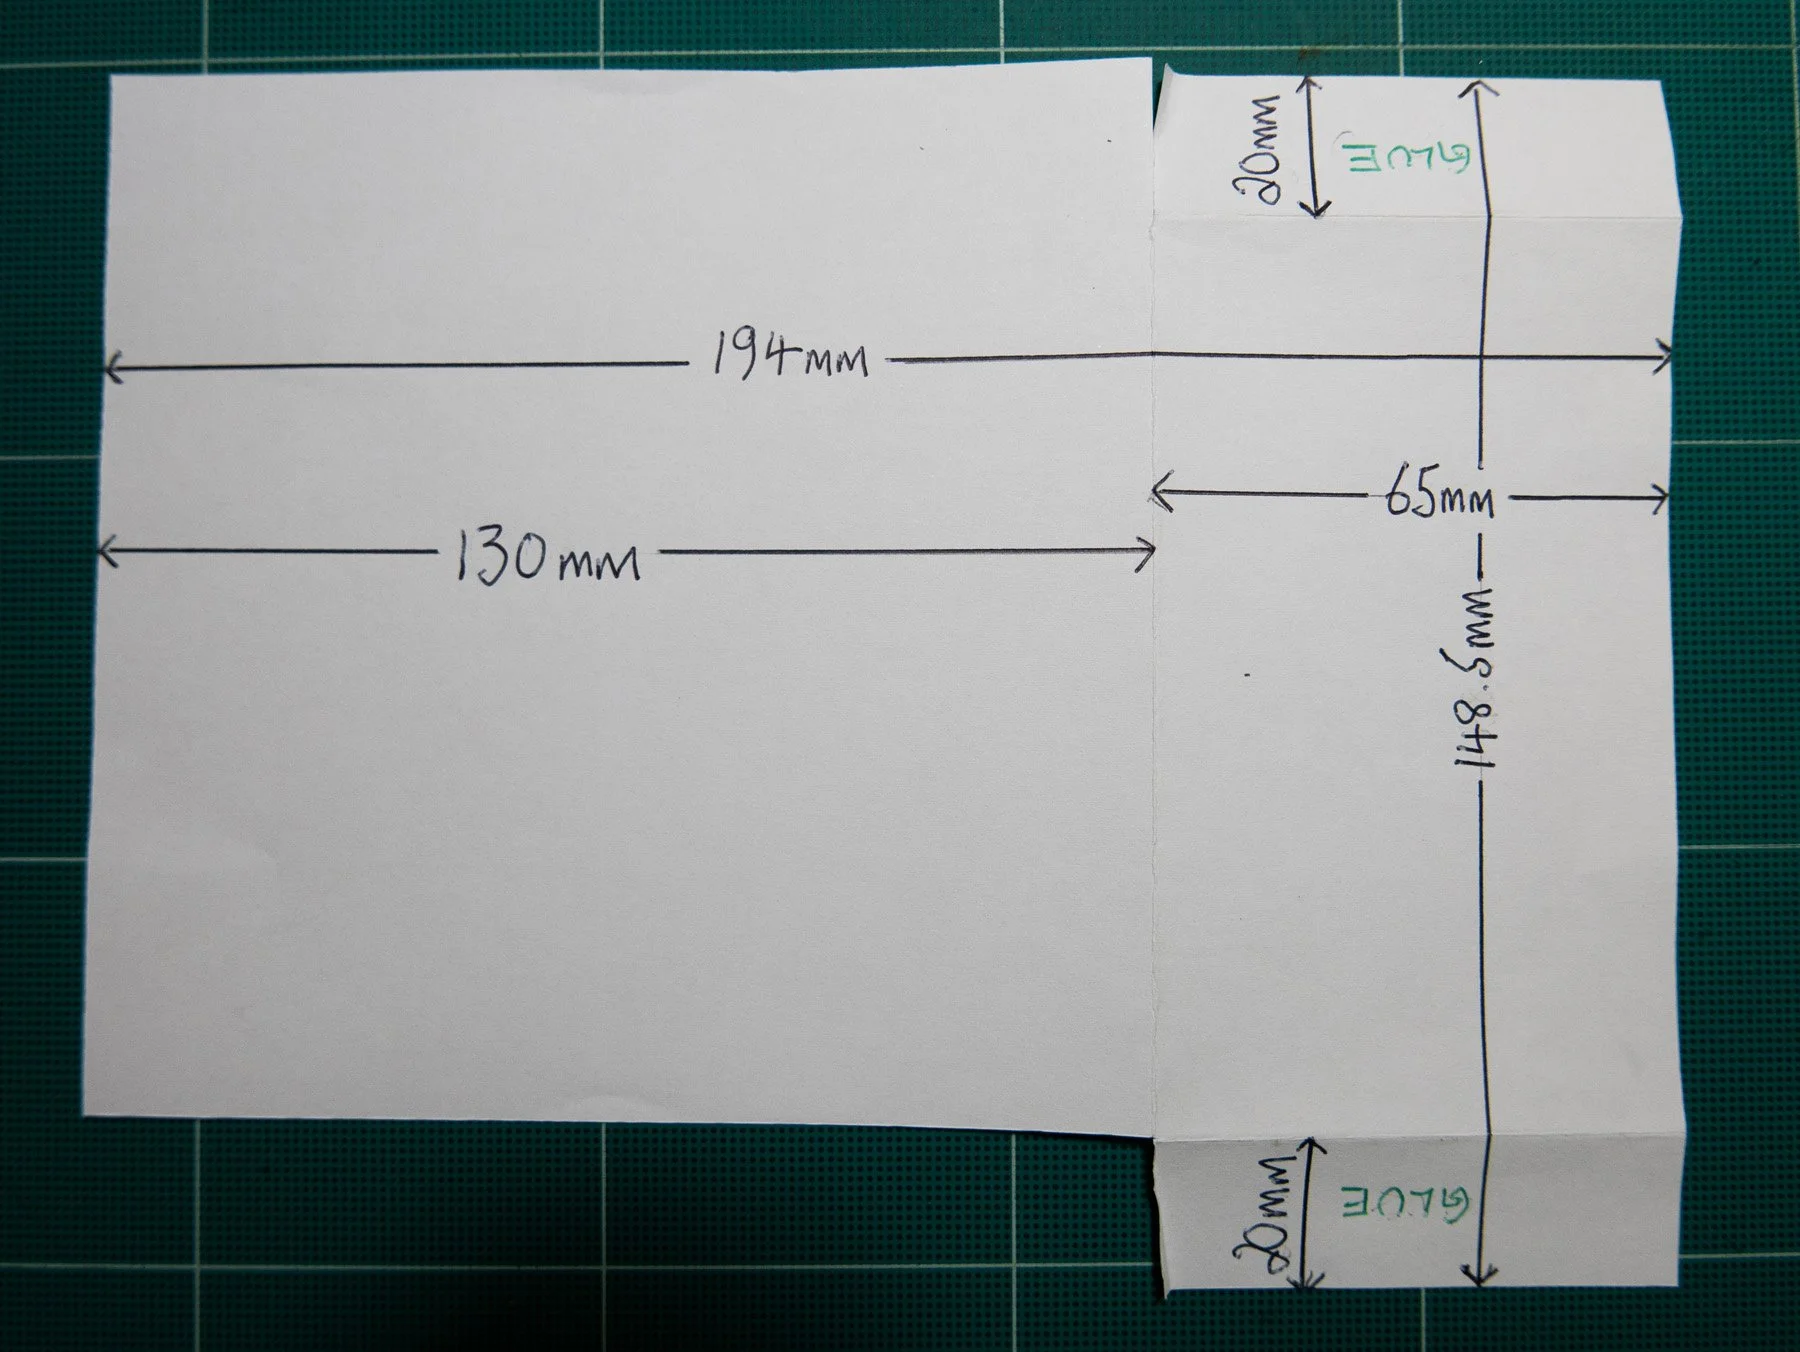
To make the pockets, follow these dimensions. A fold at 130mm towards the right hand side. Cut 20mm in along the 130mm fold, top and bottom. Cut away the bottom section measuring 20mm all the way up from fold to top left (as shown). Fold in the both 20mm sections. These will be glued. I use UHU glue for making the pockets and attaching them to the concertina as it’s a slow-ish drying glue and means you can adjust their placing. I made the pockets from black card of a heavier weight - 240gsm.

Once marked and folded, practice folding the paper into a pocket shape before gluing the 20mm flaps and finally assembling the pocket. Leave the glue to dry thoroughly before putting anything into the pocket.

Once the glue in the pockets has dried, attach the pockets to the concertina with glue. Start to attach from right to left as that means you can clearly see where to line the pockets up, close to the fold. If you work from left to right, the attached pockets get in the way.

Continue until all pockets are attached to the concertina. I changed my mind about having so many pockets, so I trimmed off the extra fold on the left hand side, making sure a cut edge is facing you as mentioned before. If you’ve worked out the dimensions on a model beforehand on scrap paper, then you’ll have the correct length of concertina and won’t need to trim extra folds.

Front view before I trimmed away the extra fold on the left hand side.
Now to make the covers. I’ve used 120gsm black paper that I made the concertina from. Again, a lighter weight of paper could be used.

For the covers of this book, I’ve used 3mm thick book boards (also called grey boards). You could use 2mm thick if you prefer a slimmer feel to the covers. The boards measure 149mm wide x 140mm high. Cut the cover paper 20mm wider all round than the book boards. For details of how to cover the boards with paper see ‘Making a concertina book’ below this instruction section.
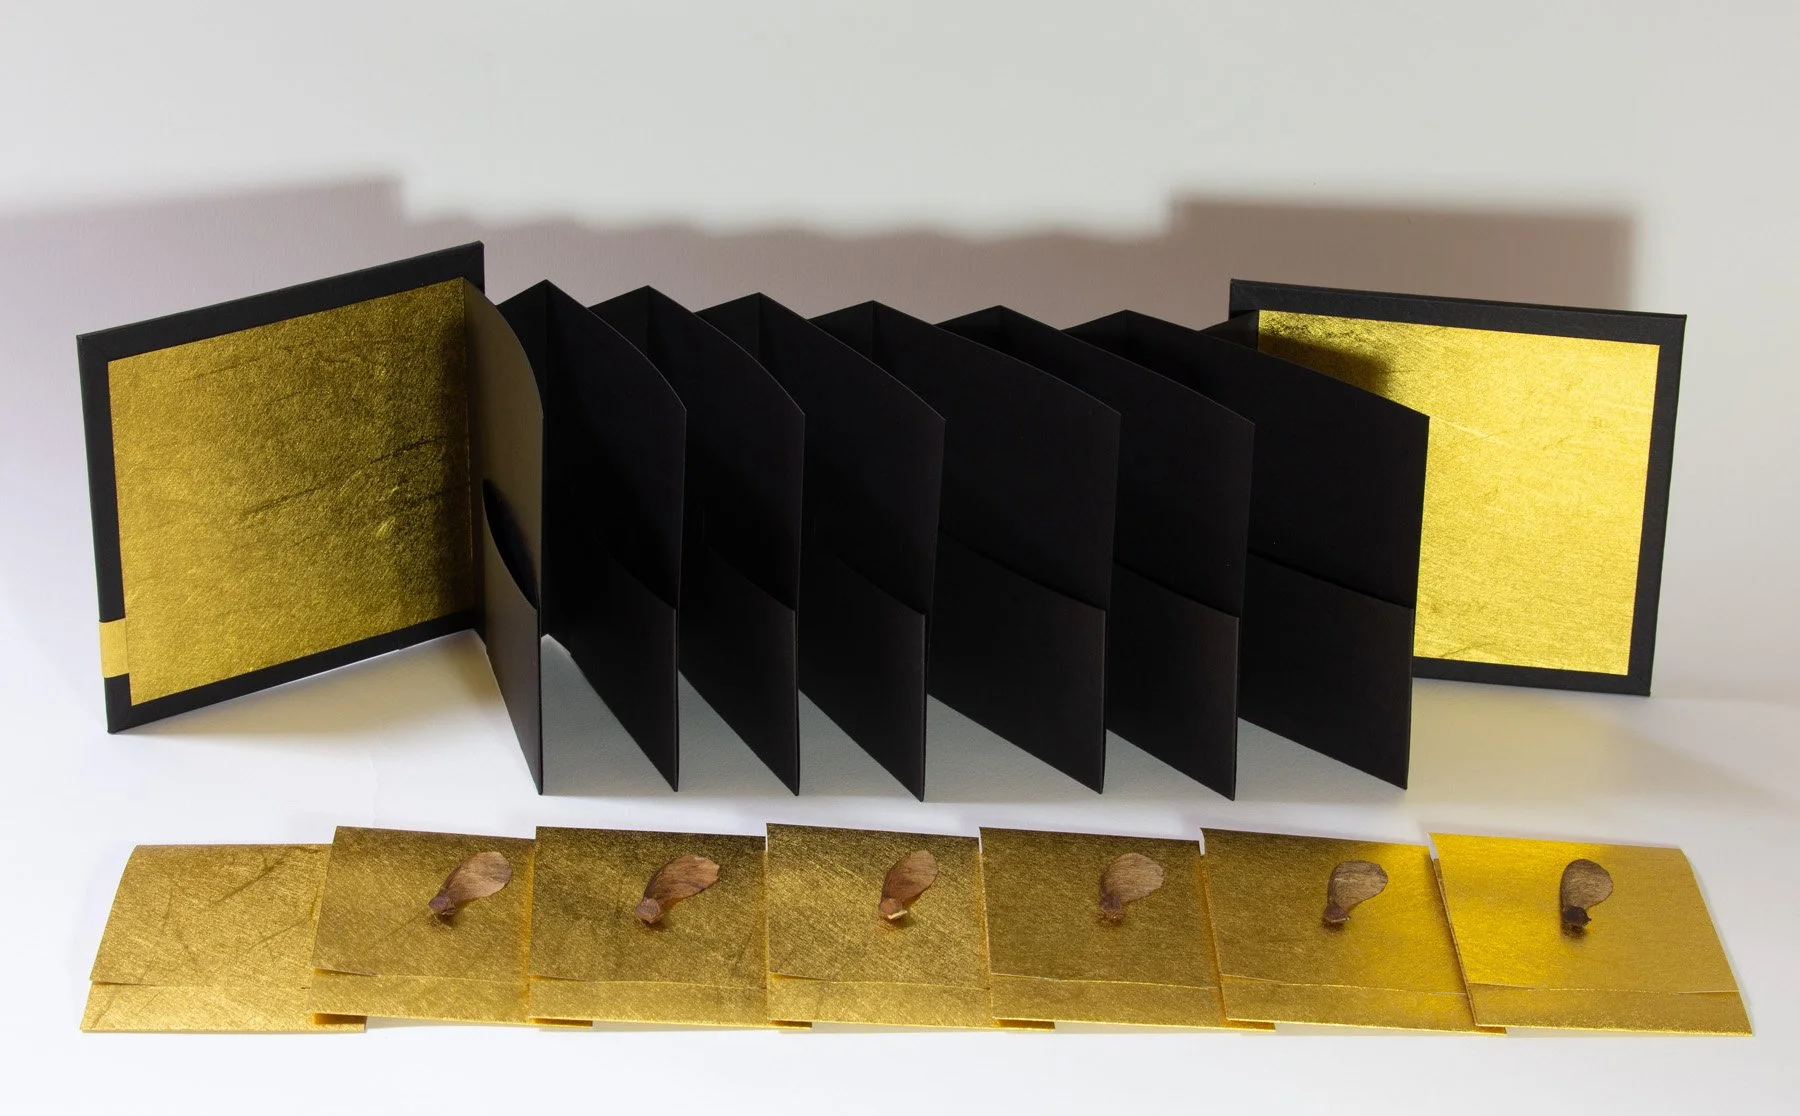
Take the completed concertina with empty pockets, and attach the concertina to the covered book boards (before adding the endpapers) by gluing the back of the two end concertina flaps to the book boards. You’ll probably want the bottom of the concertina to rest on the ground when the book is opened, so line it up that way. Glue on the endpapers . (Here I’ve left a margin of 15mm black card showing)
Finally, lay the opened book flat on a hard surface - concertina facing upwards and book endpapers protected by scarp paper and facing up. Lay heavy weights onto the book cover endpapers and leave overnight to dry. This stops the book boards bucking while the glue dries. I use 2 heavy books for weights.

These are the items that I used to make this book.
Collall PVA Bookbinding glue; Uhu glue; Teflon bone folder; Glue brush; Retractable scalpel; Awl; Clear plastic 18” ruler; Metal 24” ruler used for cutting against with scalpel
Making a concertina book.
A concertina or accordion book is a really flexible format for creating a photo book because you can turn the pages in the traditional way but it can also be extended so that all the photographs can be seen at once. As part of a charity auction I offered to make a concertina photo book of the winning bidder's photographs. This post shows the various stages and techniques of making the book after the landscape photographer, Steve Forden sent me his digital files of his trip to Skye. I resized them in Photoshop ready for printing on my Canon Pro 100S printer.
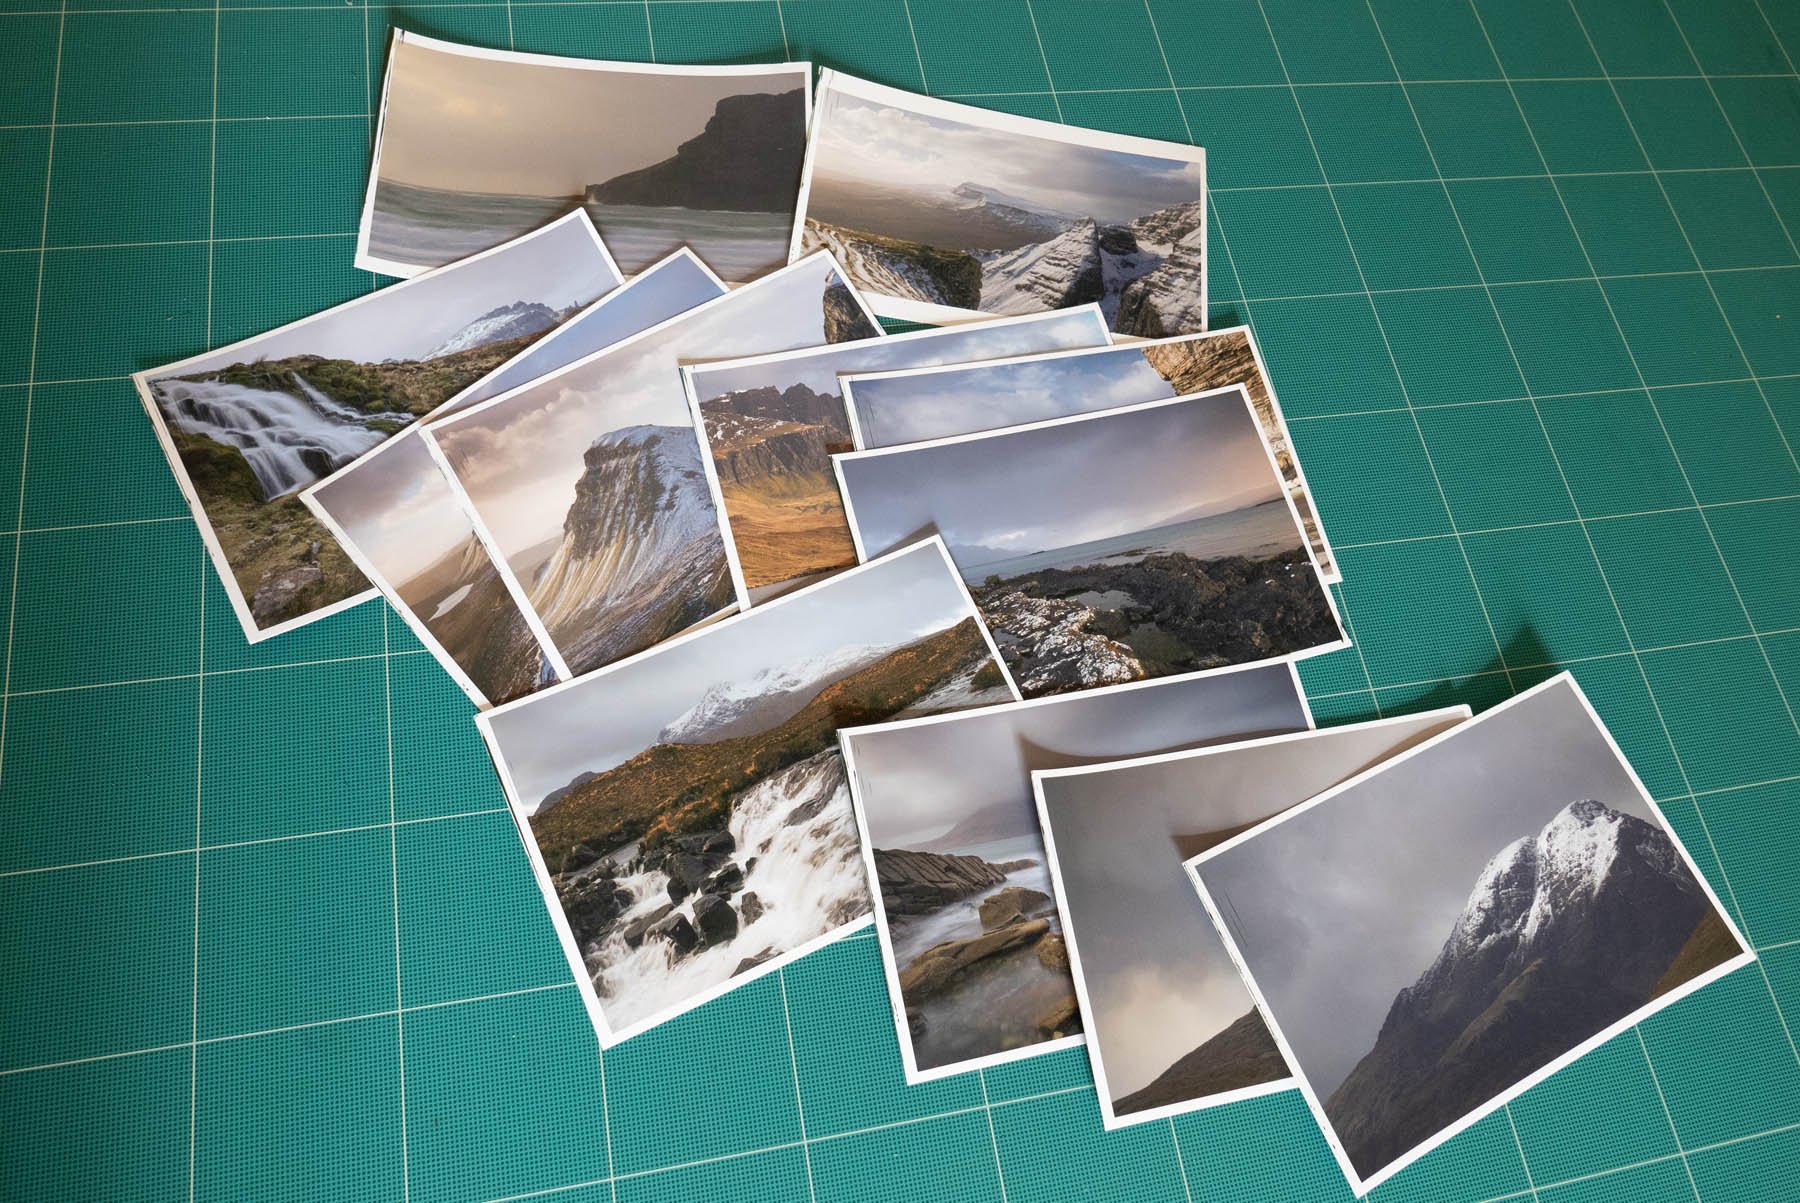
The first step is to print all the photographs on small cheap photo paper. It's a good idea to have more photographs available than you need so that you have flexibility when sequencing. I find it much easier to sequence photographs by physically moving their order rather than doing the same on a computer. The sequence is guided by shapes, colour and textures as well as subject matter and in this book it worked to mix the seascape and landscape images.

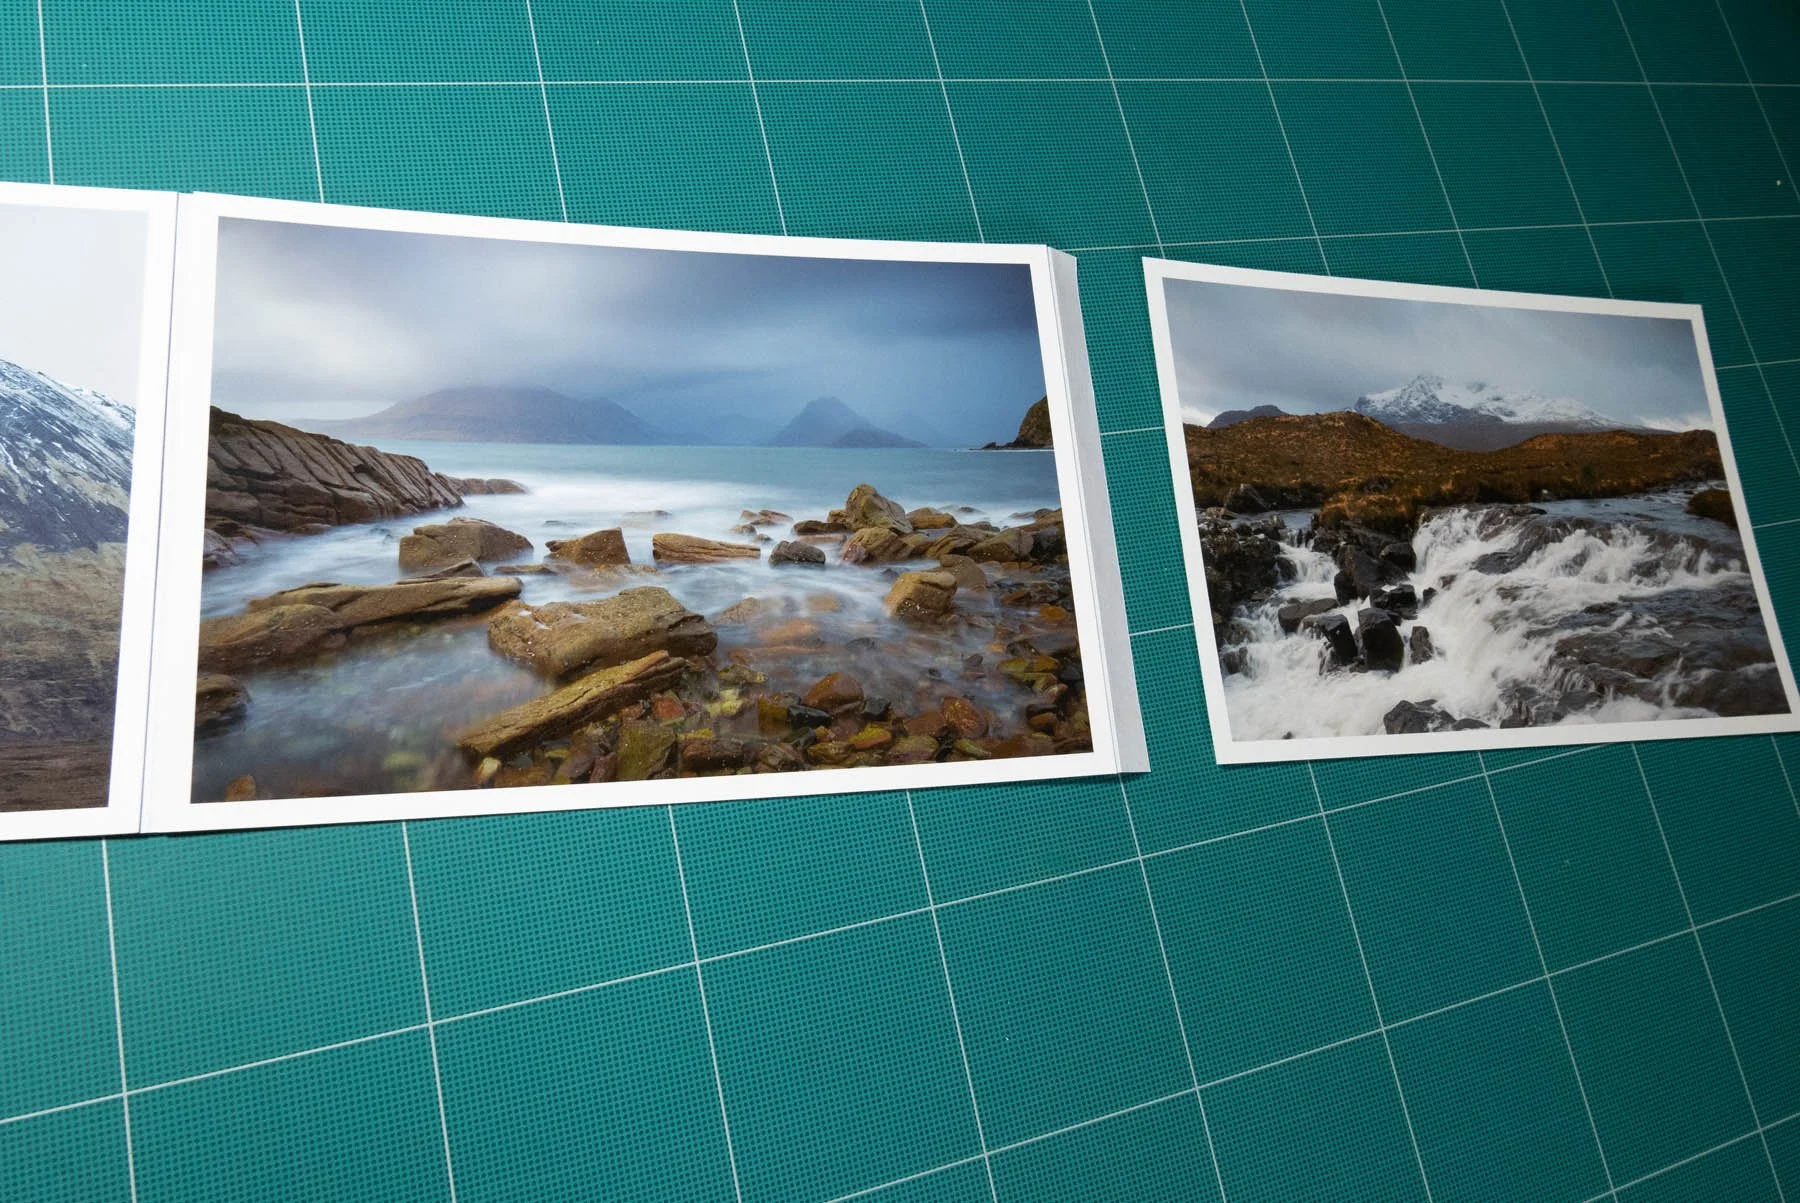
When the sequence seems to work, I then print the photographs onto fine art inkjet paper.

I tend to use Fotospeed Natural Soft Textured Bright White 315 or Matt Ultra 240 for this form of book as the paper is sturdy enough not to buckle when the concertina is extended. I also printed a sheet of text, and the paper I used for that is Bockingford Double Sided Watercolour Paper as it's a good general inkjet paper and is inexpensive compared to fine art photo paper. I've used it for an entire photobook with good results.

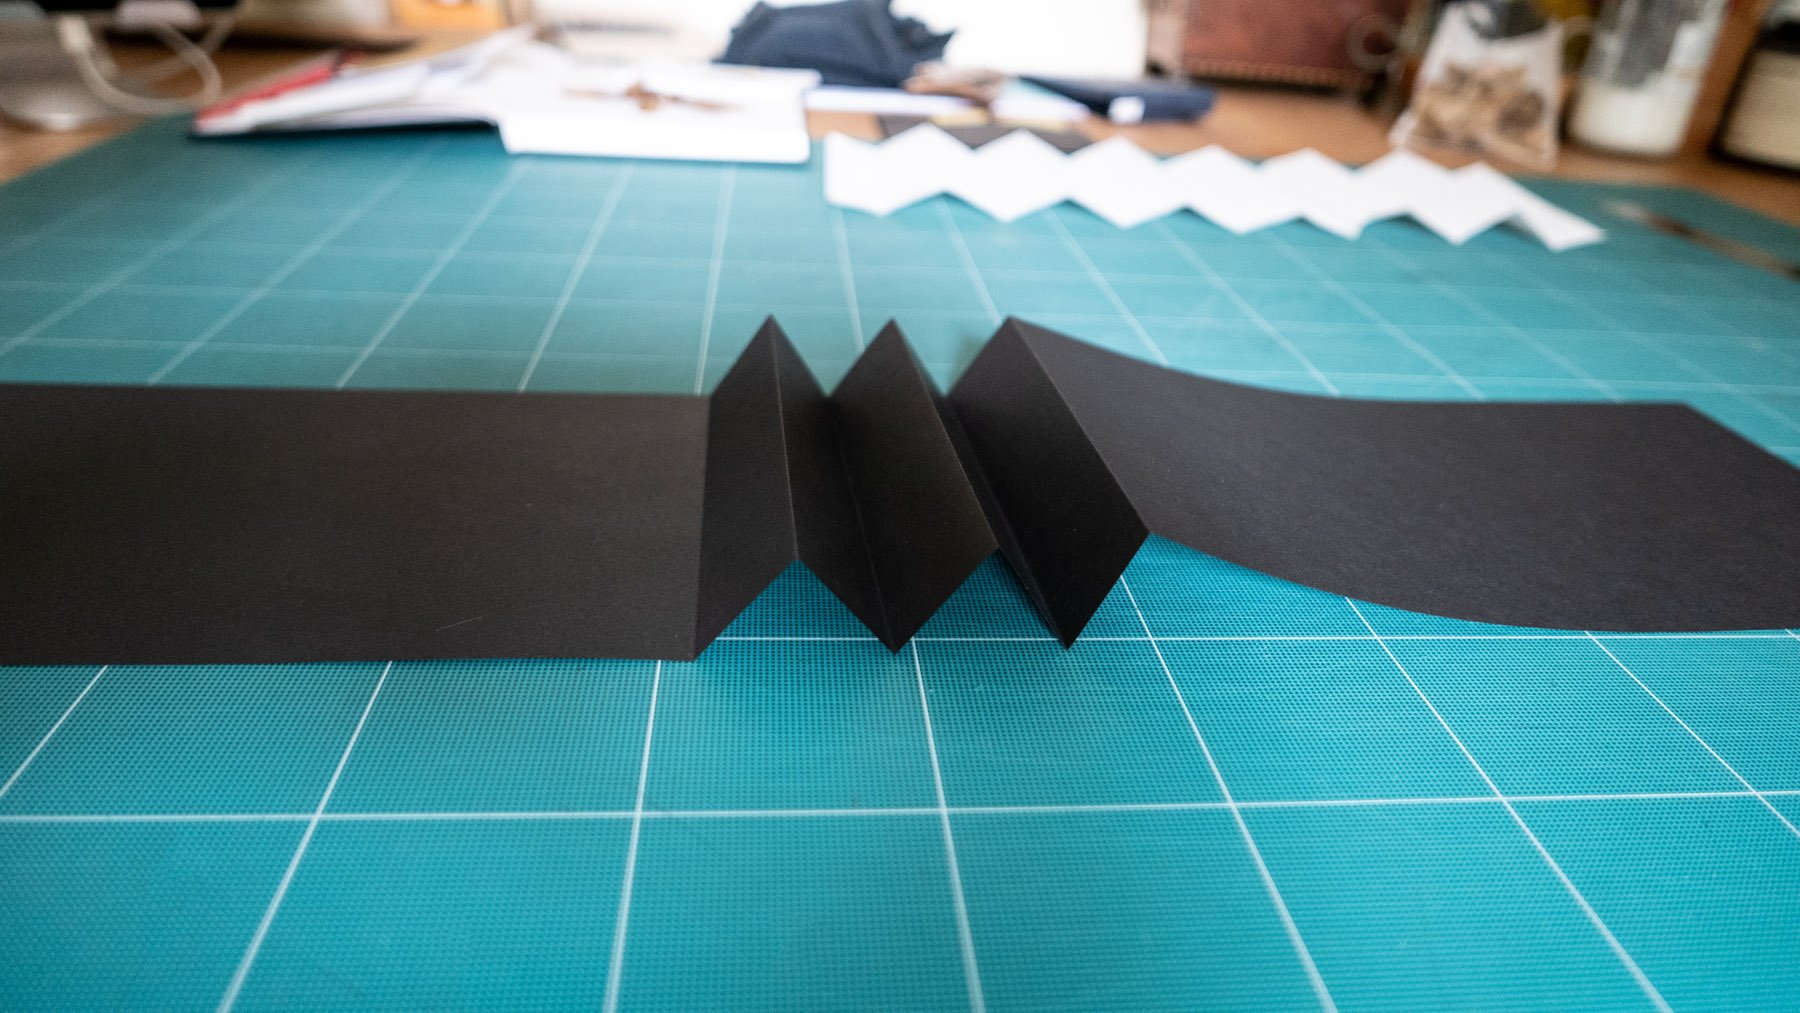
Now that the interior of the book is printed I assemble the concertina. The book needs to have an even number of pages for it to work as a concertina when attached to the book covers. I've found that you can't fold the thicker fine art inkjet paper because the surface cracks so I make individual hinges from a lighter weighted paper - usually measuring 40mm wide and exactly the same height as the photograph. The hinges are then folded in half.
By using hinges, you can use a heavier weight of paper and also use a mix of papers to suit the image. I use a thin strip of Uhu glue for attaching the prints to the hinges and alternate the hinge fold pointy bit facing you and pointy bit away from you to make the zigzag accordion book shape that you can see in the pic below.

Once the concertina is assembled I make the book covers which are hard backed for this book. Cut the hard book boards (I use a scalpel and metal ruler) to roughly 10mm larger on all sides to the closed concertina, but could be larger if you prefer.

lay the cover photograph face down with the book board centrally laid on top. Using a small strip of the same book board lay it at an angle to the corner of the book board cover (see below). Mark it and do the same with all the other corners. Importantly, draw round the book board too so you precisely where to lay the book board onto the cover. Cut off the marked corners

The cover is now ready for gluing.

The reason for using the small strip of the same book board is that it ensures the cover photograph will fit perfectly when the corners are cut and folded onto the boards.
Glue the back of the cover photograph with PVA glue and replace the book board to the area that you marked and fold over the flaps. Repeat the same process for the back cover using paper of book cloth.
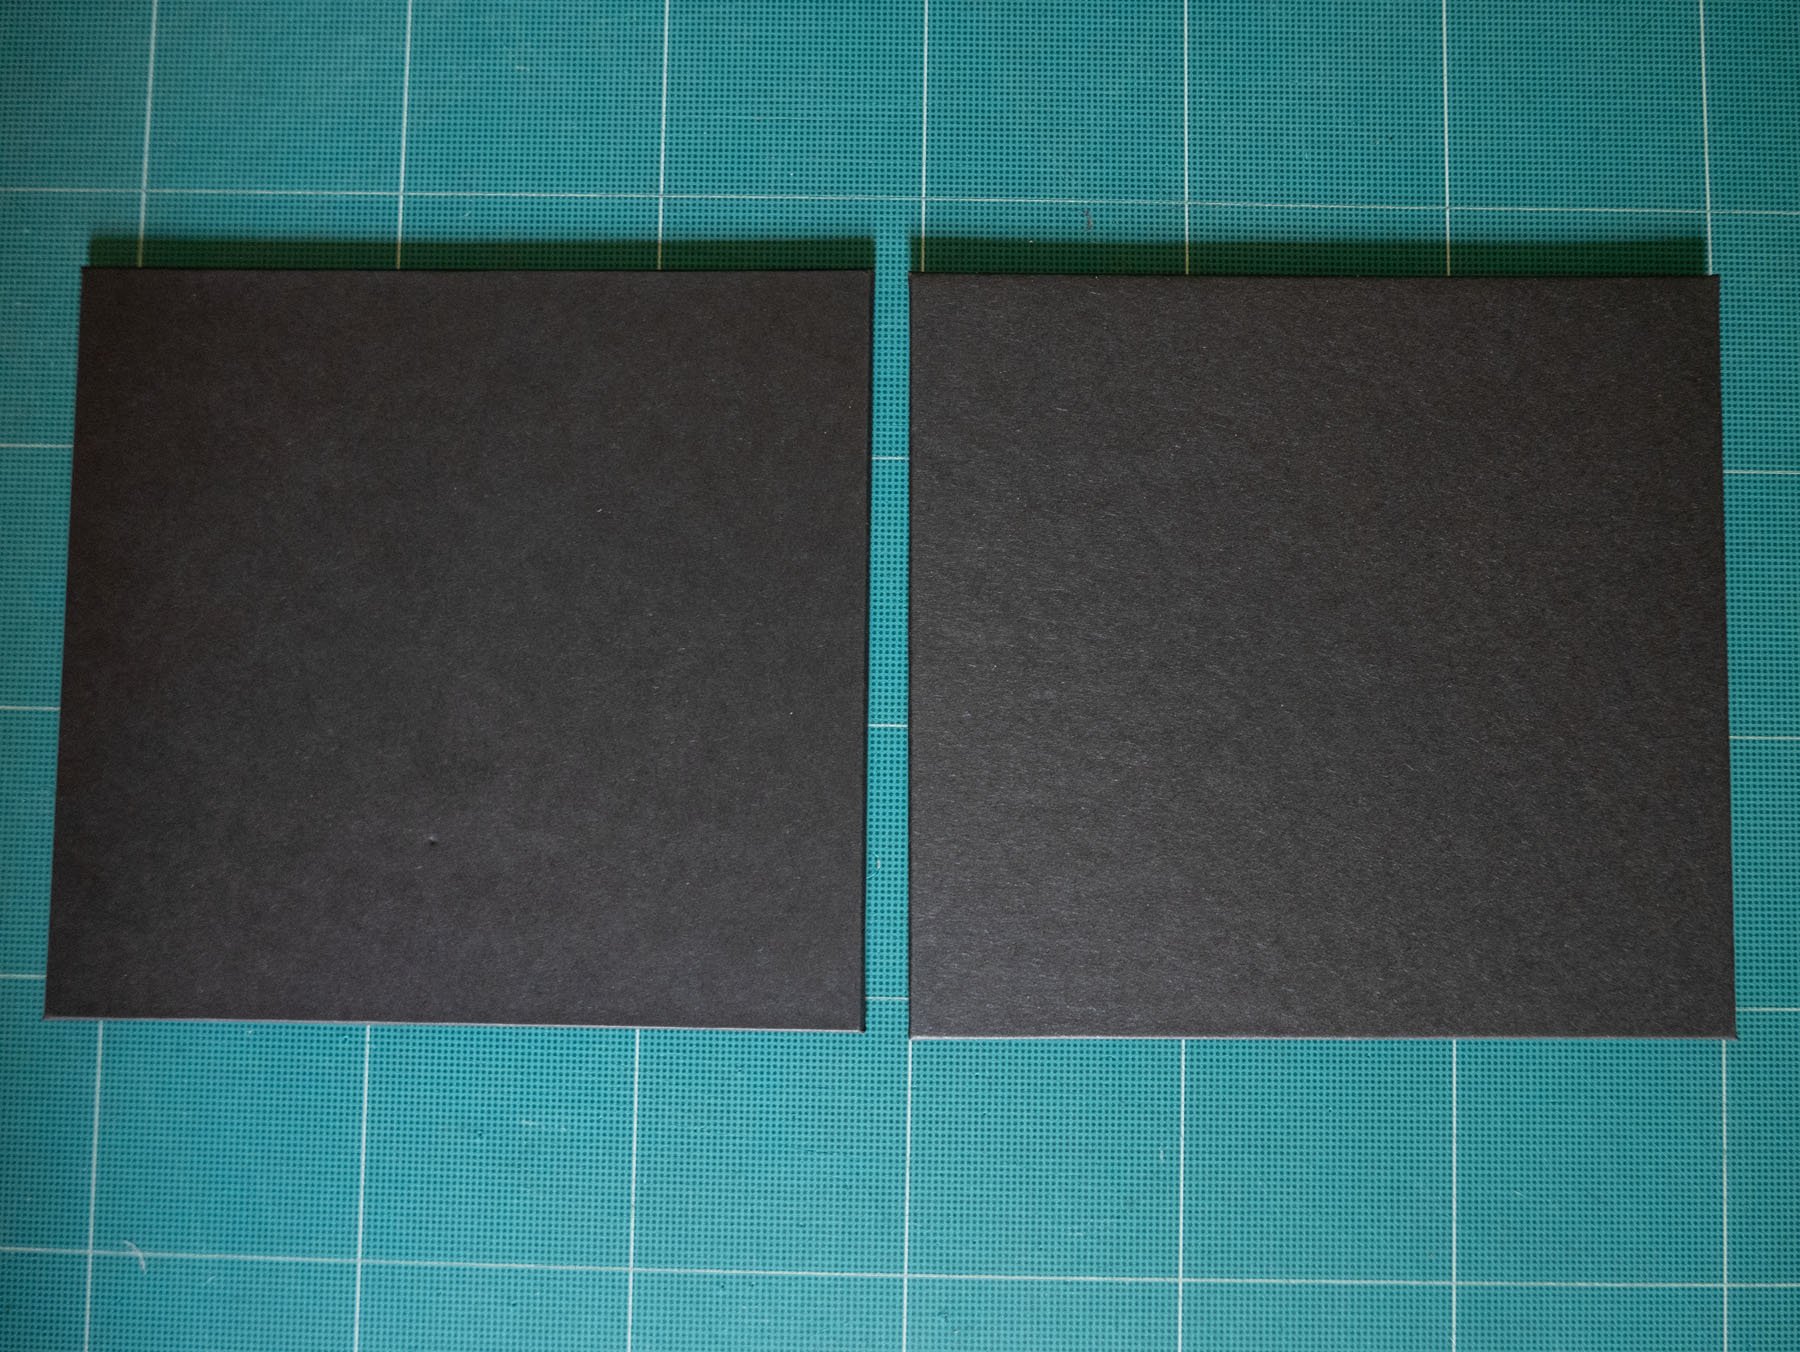
The inside of the covers ready for the concertina to be attached.
The front and back covers completed.
I used book cloth for the back cover of this book.
Finally attach the concertina to the book covers by gluing the back of the first and last pages with PVA glue and fixing them centrally to the book covers.
It's taken a lot of book making and lots and lots of gluey mistakes to get to a stage where I feel the quality of my books are acceptable and even now many end up in the bin, but it's all part of the learning process.... she says.